This is a little different post. I hope you don’t mind. It does have something to do with education – one, it’s a lesson in a way, and two, this is the perfect accessory for teaching space!
I am obsessed with space. I’m pretty sure you figured that out! I have this urge to not just study space, look at space, go to space, but also to wear space. A few years ago, you could buy custom printed Keds from Zazzle. They were awesome, but a little pricey, so I never took the opportunity to buy an awesome pair of space shoes. (Zazzle’s website indicates they will be making customizable shoes again in 2012, but that obviously didn’t happen!)
Recently, I felt the need to find shoes like these again, and thanks to Etsy, it’s not hard to find hand painted galaxy shoes. My weightless flight teammates and I decided that if we were accepted to the MicroGravity eXperience, we would each buy a pair of galaxy shoes to celebrate. But then I got the idea to see how hard it would be to do myself. I saw lots of different DIY galaxy shoe tutorials, but I loved this one from Chipkey because it seemed the most scientific (she actually used photos of space for inspiration).
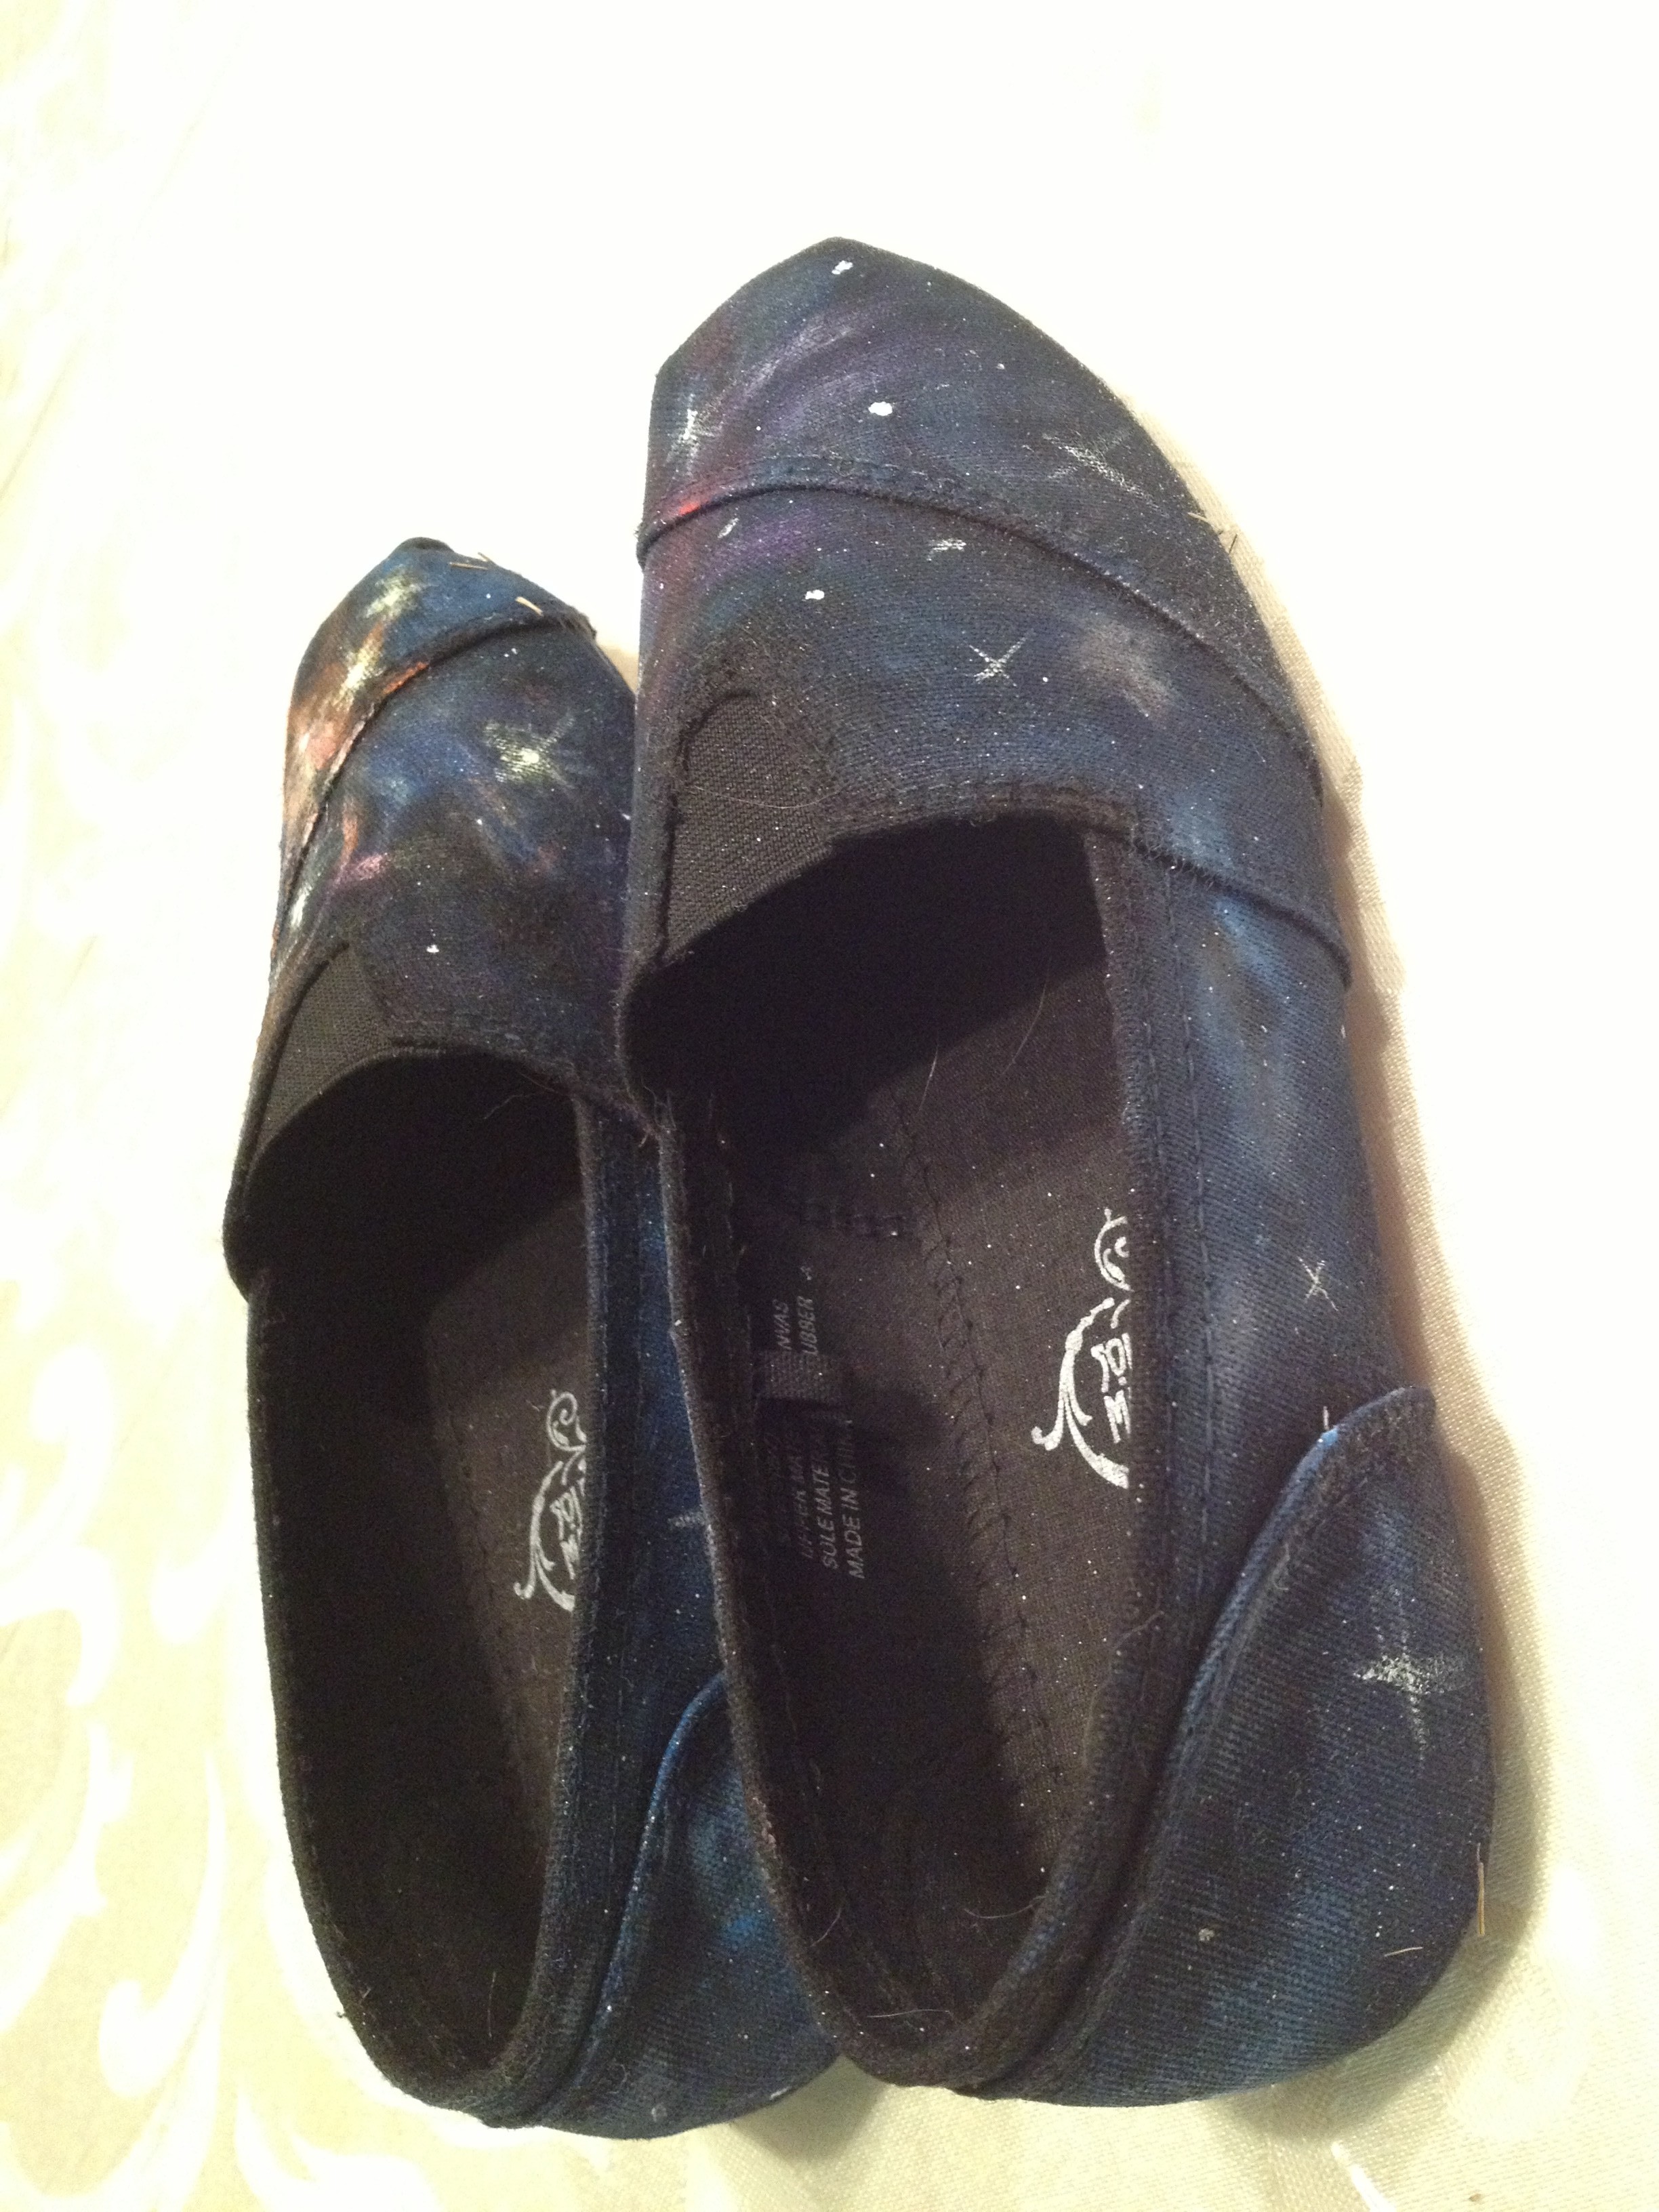
I decided to see how well I could get on making a pair myself. Here is my first attempt and the steps that I took.
Duration:
It takes about an hour and a half to paint both shoes. You will then need dry time for the spray sealant. Your shoes should be ready to wear in 36-48 hours if you’re applying several coats of sealant. It’s definitely an easy weekend project.
Materials:
You will need
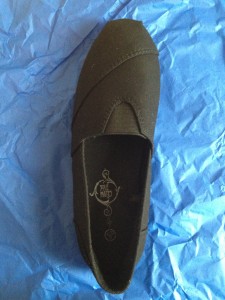
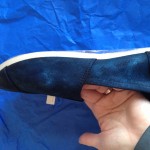
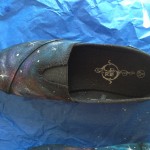
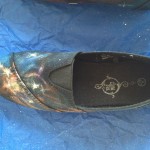
- A pair of black canvas shoes. I picked up a $5 pair at a store called 5 Below.
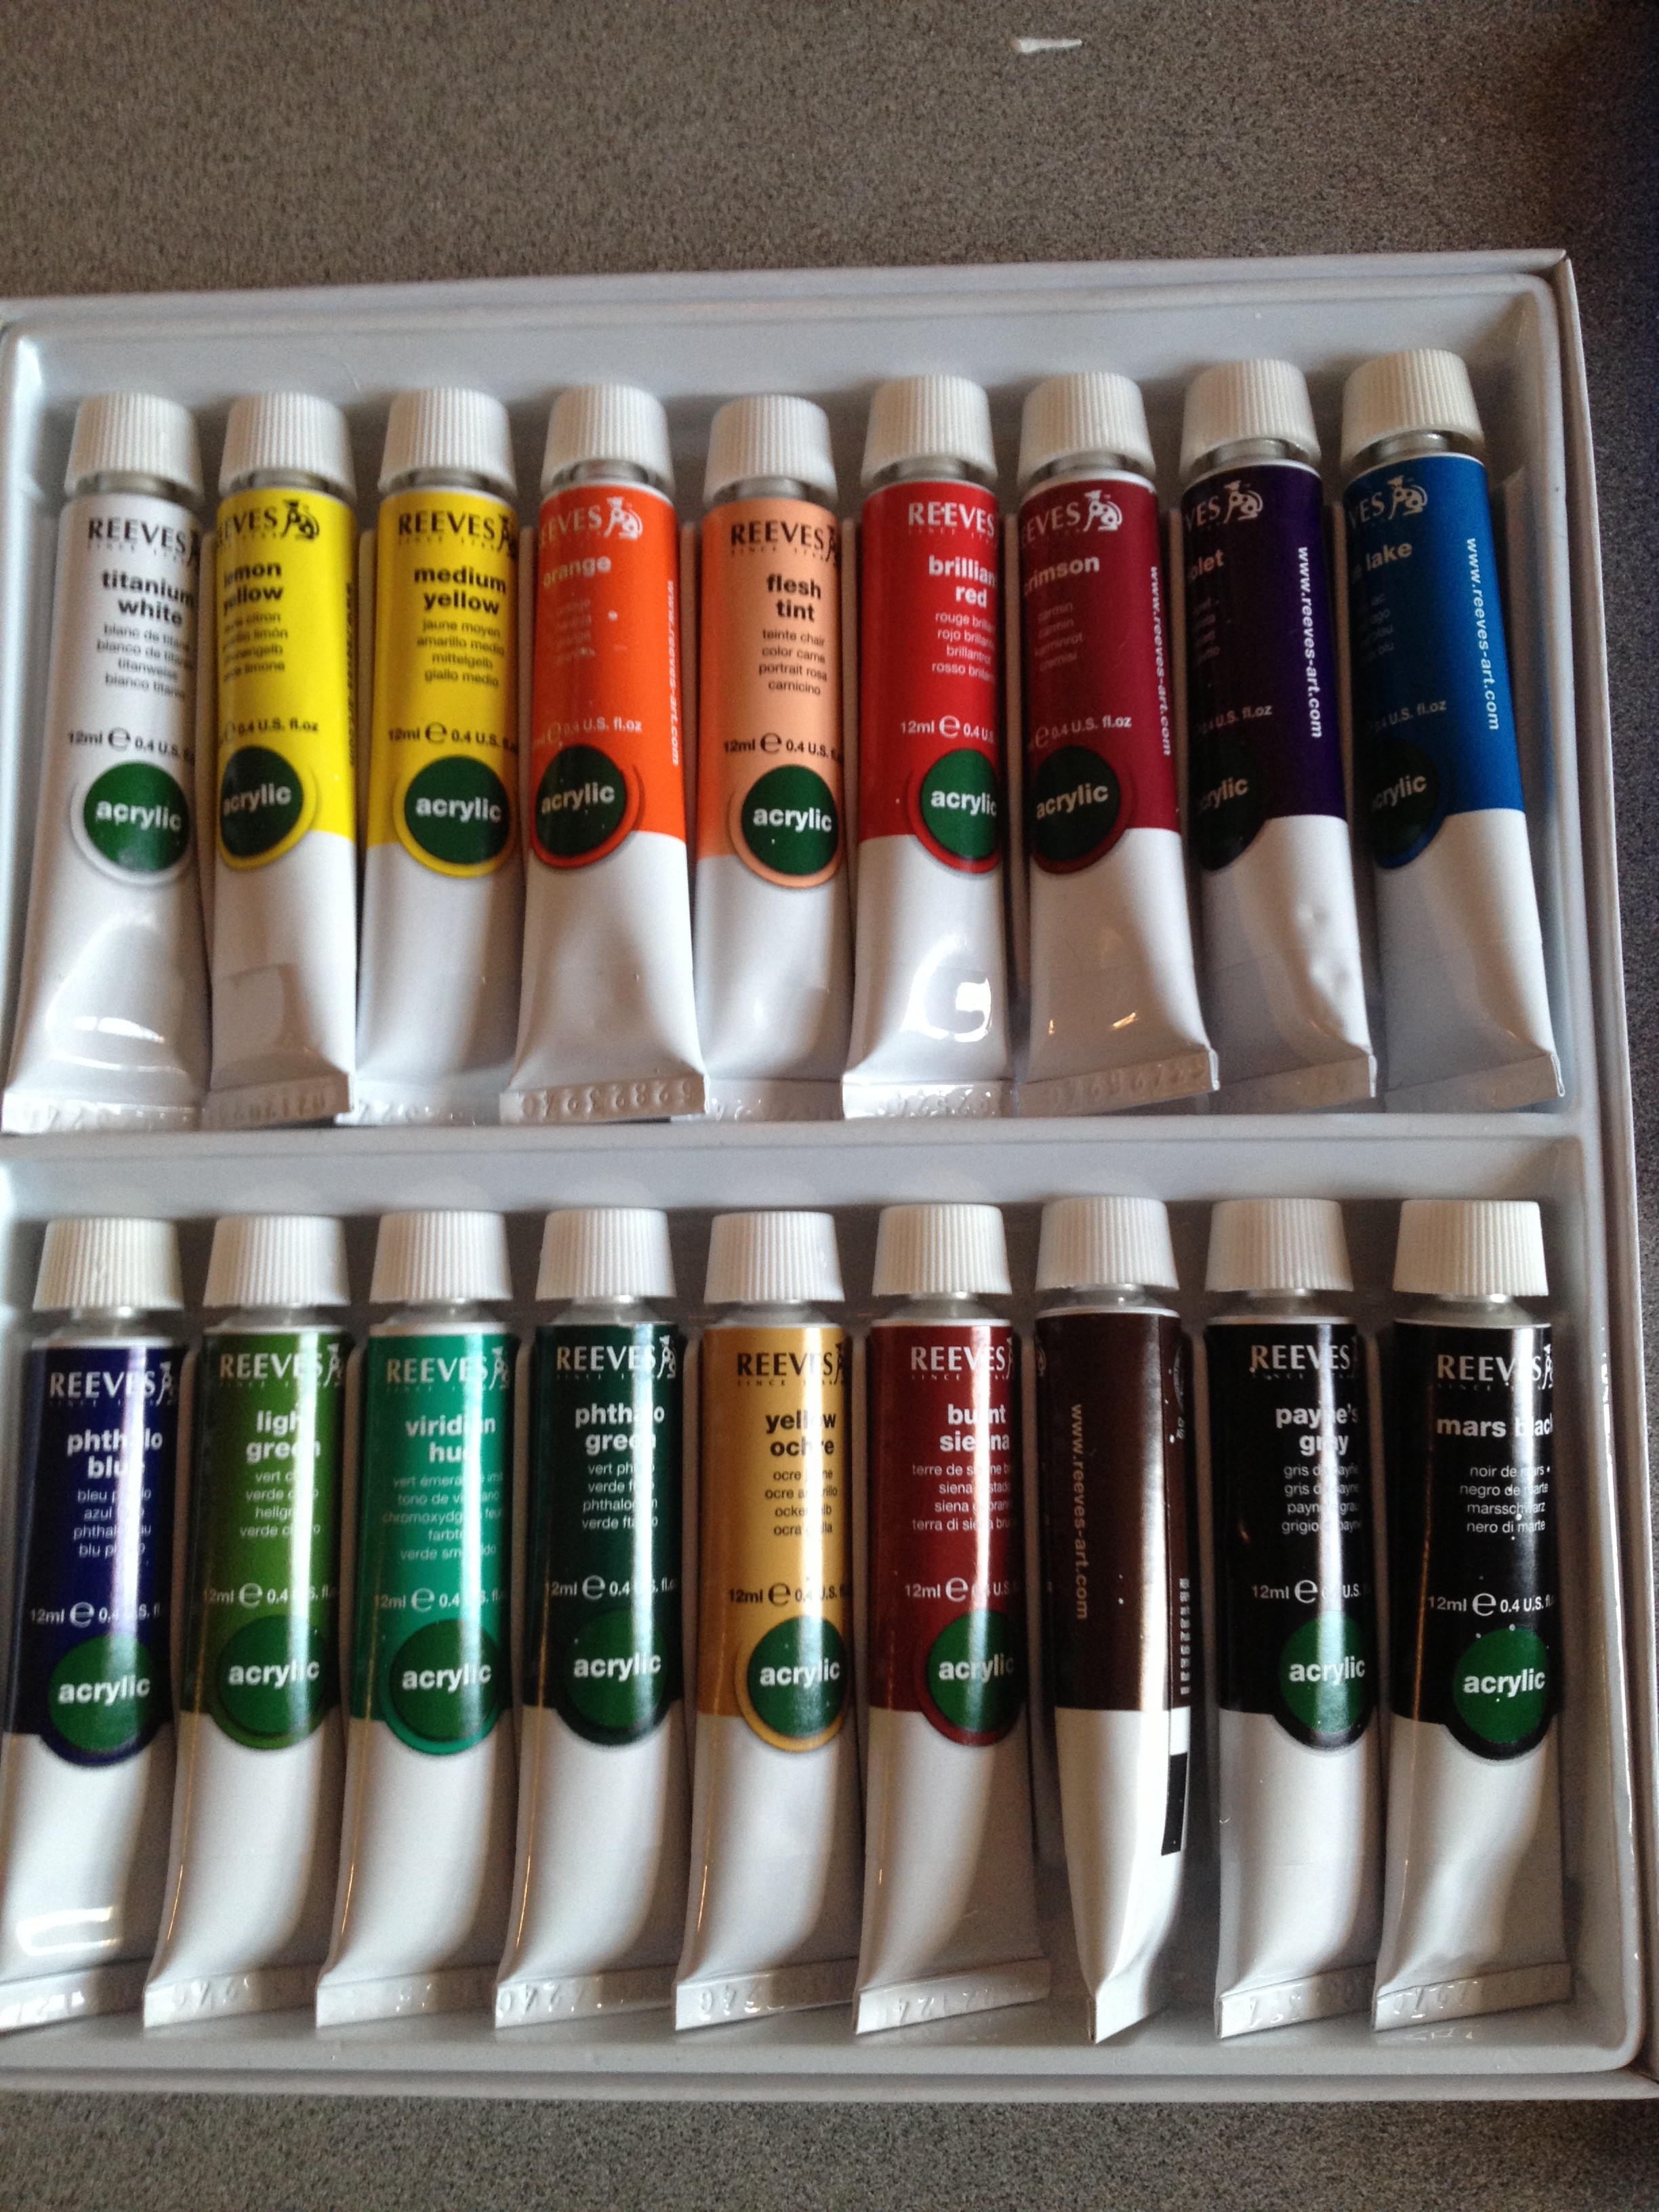
 Acrylic paints. I picked up an 18 color set because I know I’ll use it in other art projects. My set was $15, but they had simple sets at Michael’s with 12 colors for $5.
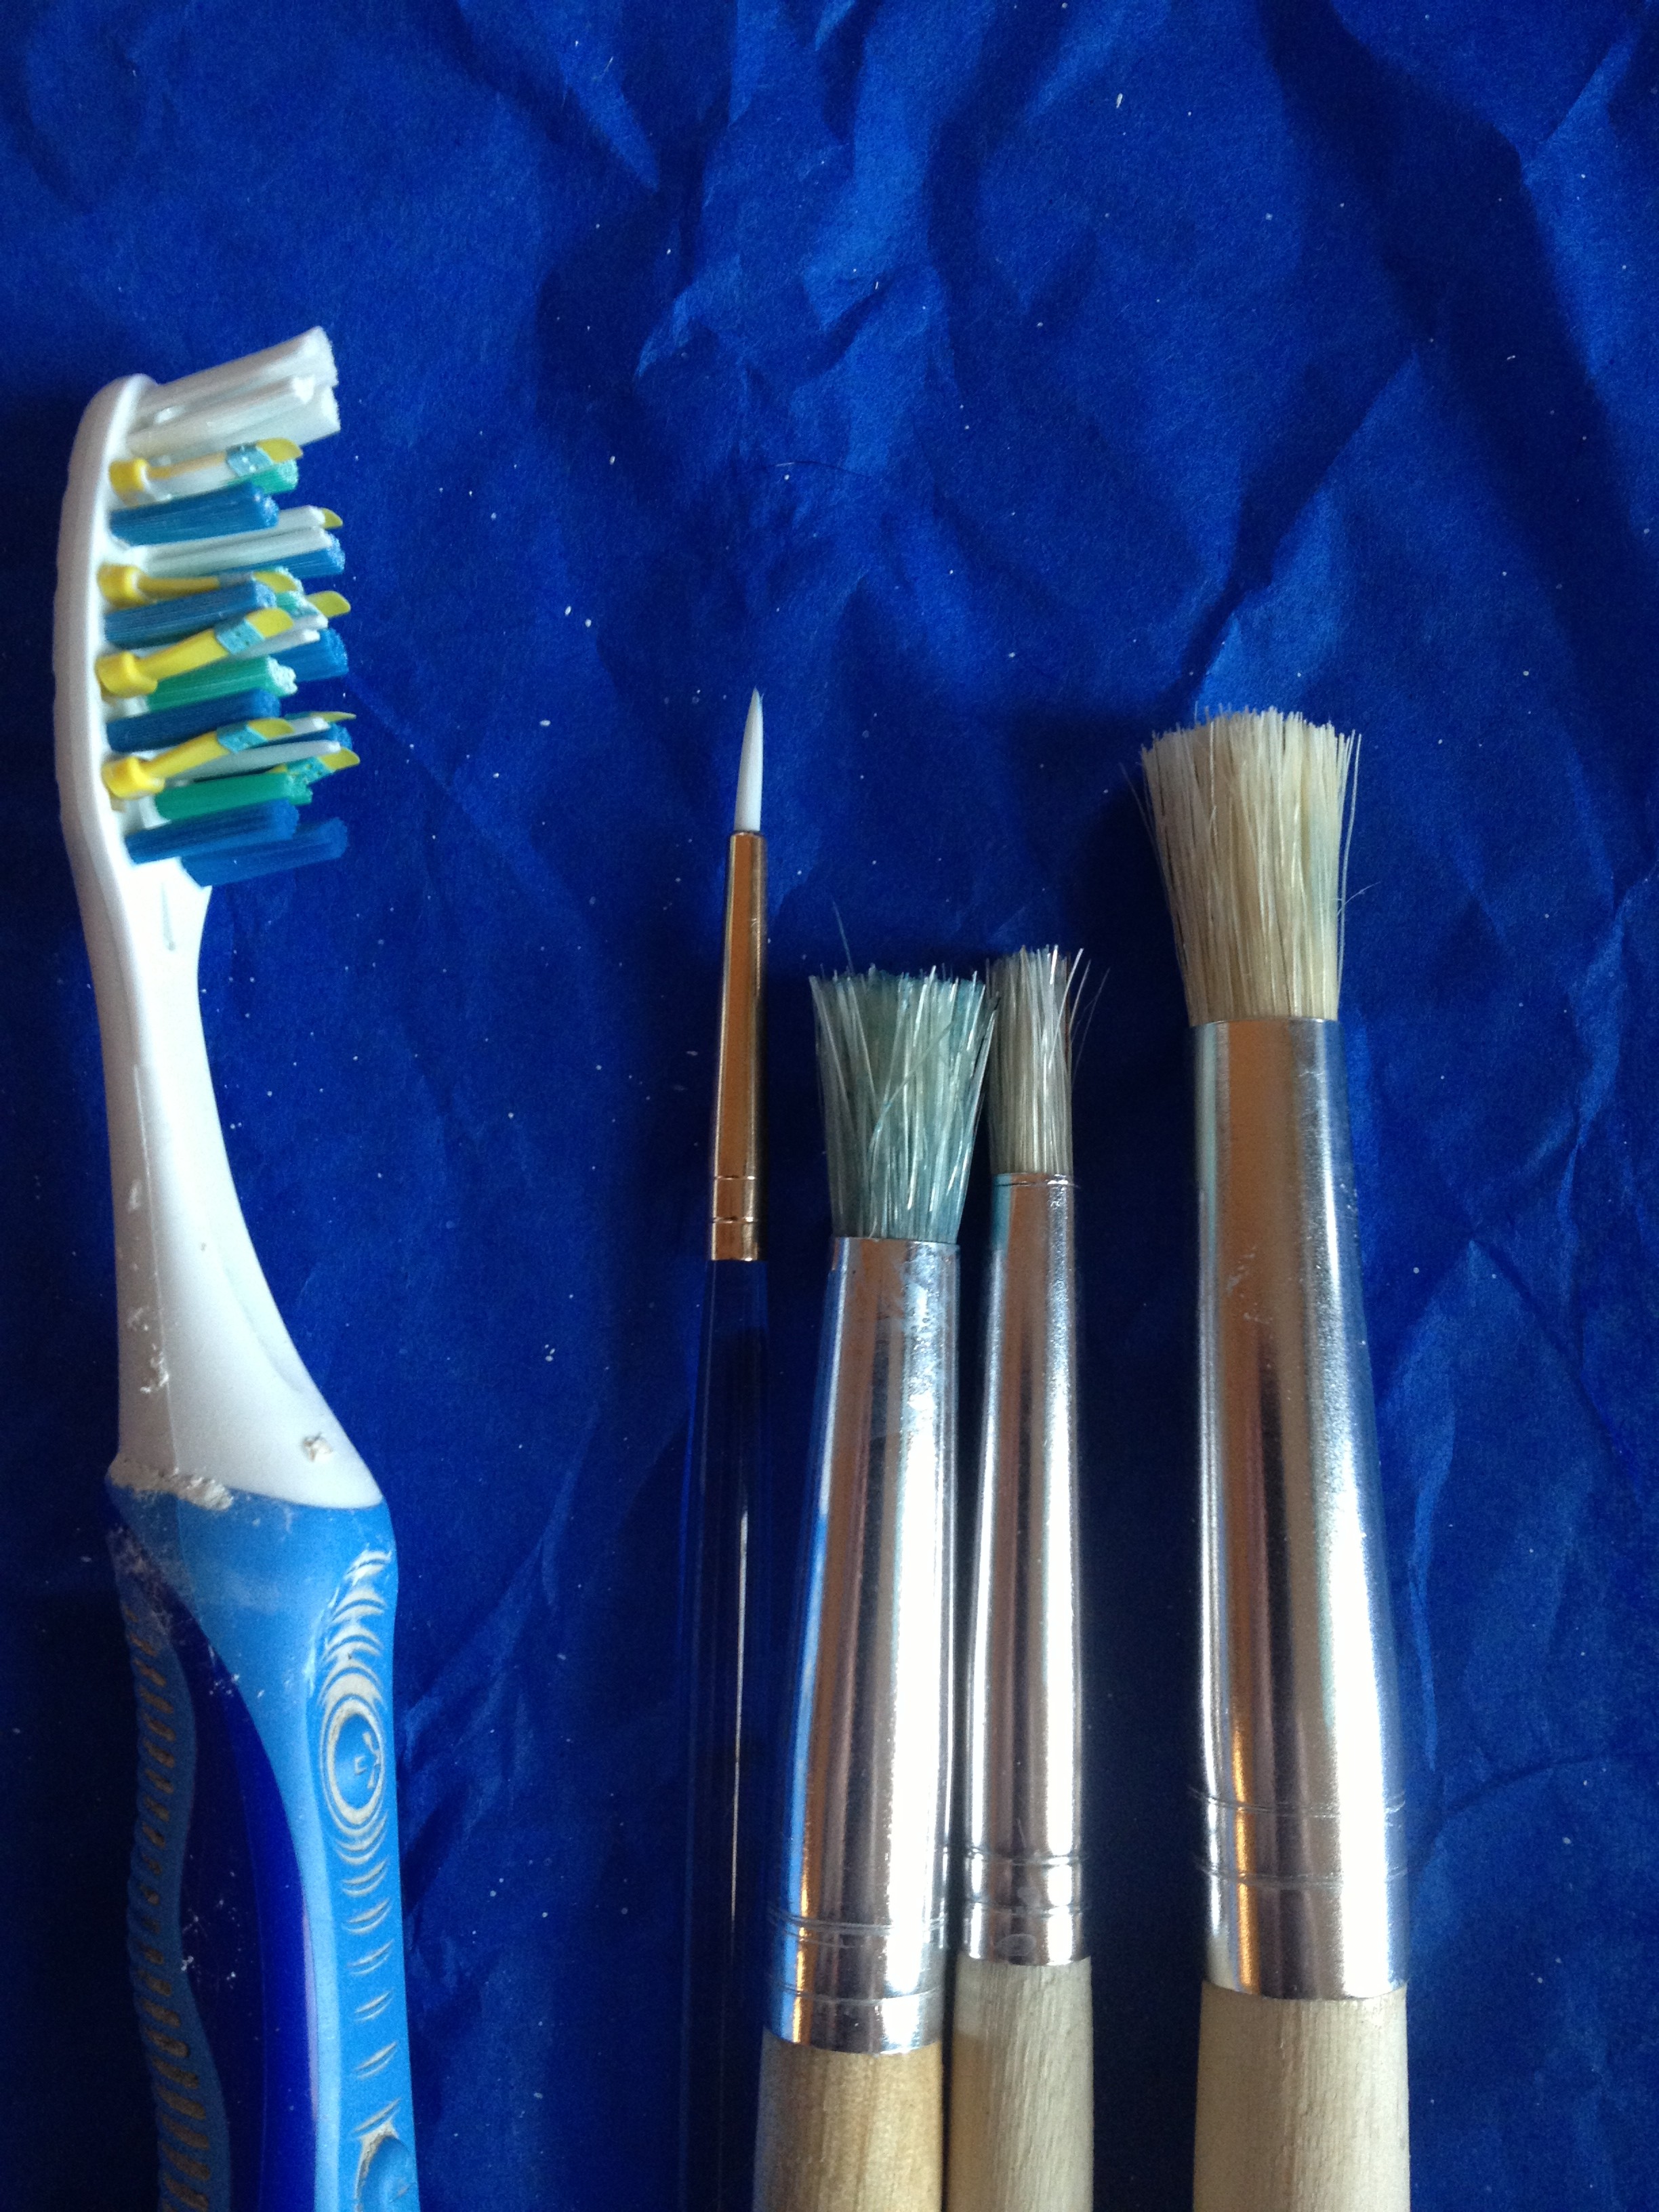
- Paintbrushes. I bought two sets. The first one was an acrylic set of brushes and was about $11. The second set is for stencils and was only $3. I used the $3 set mostly and only one from the more expensive set. Once again, I know I’ll use the extra supplies for other art projects.

- Cup of water for washing brushes.
- Paper towels for drying brushes.
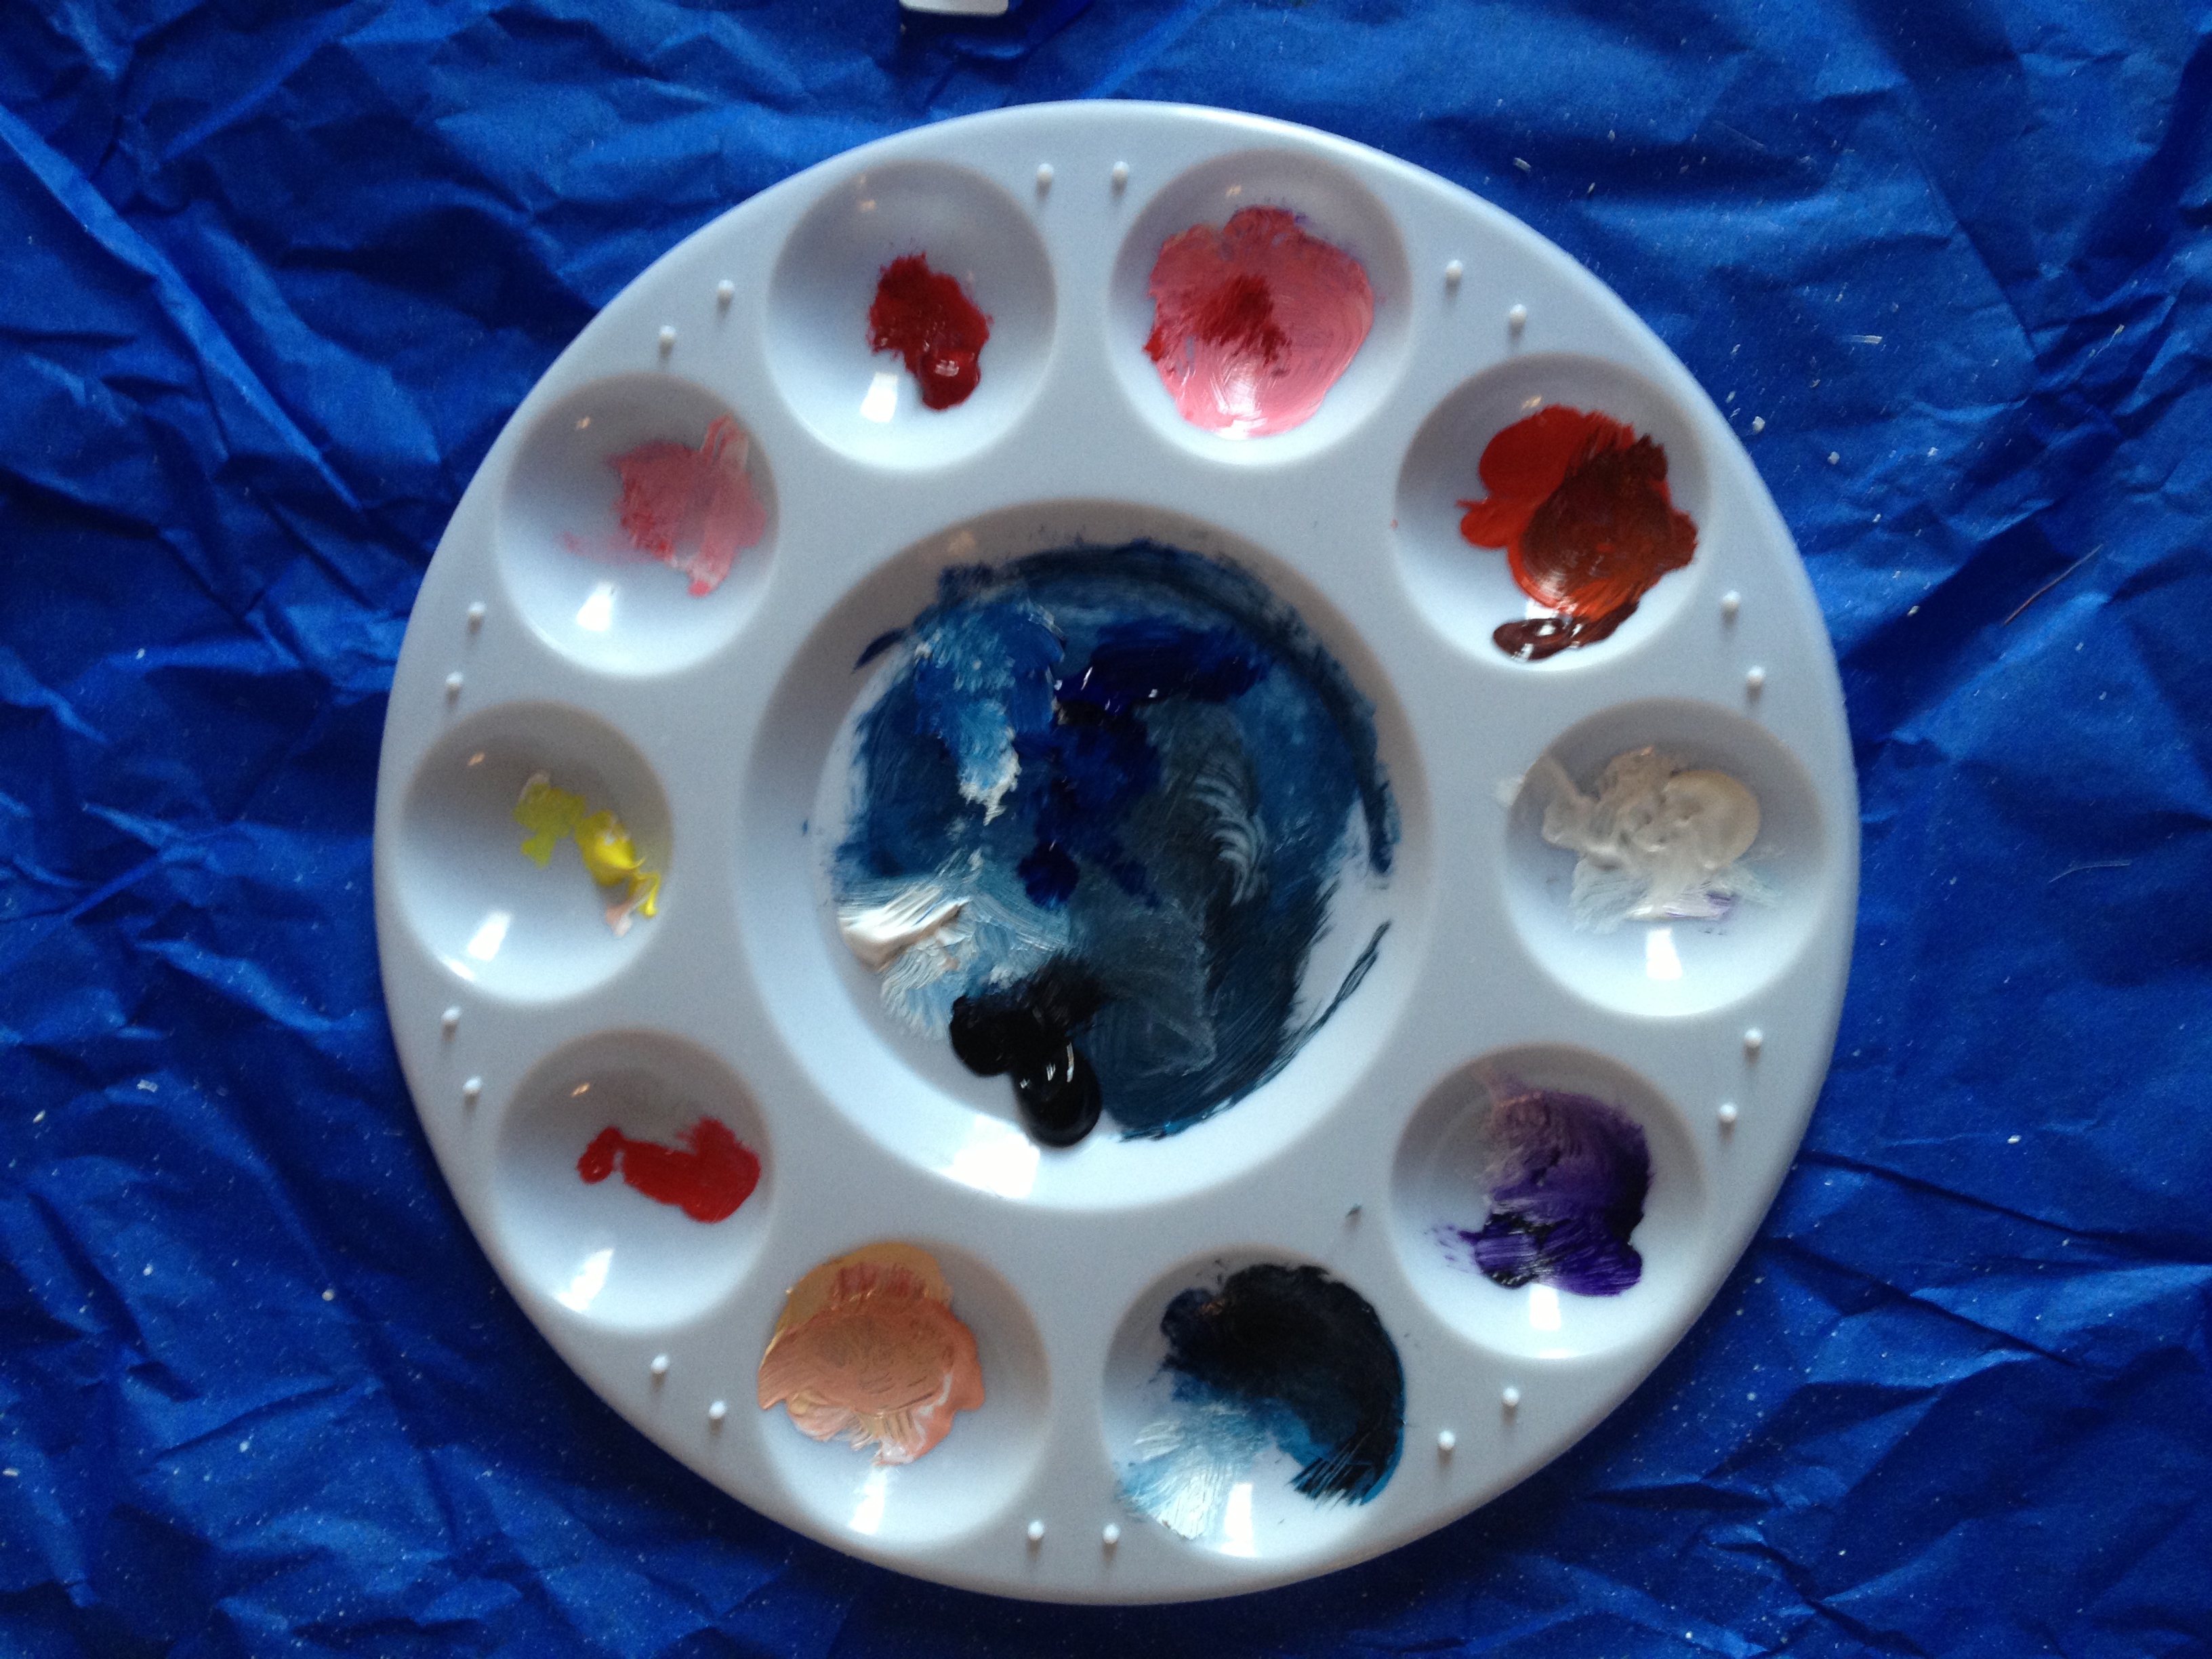
- A paint pallet or plate for mixing your colors. I found one for $2 at Michael’s.

- An old toothbrush for “spraying” the random sprinkling of stars.
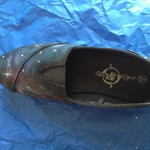
- Tape to cover the rubber parts of your shoe. My shoes had a very small exposed part because they are Tom’s knock offs. If you do converse, you’ll have more rubber parts to cover.
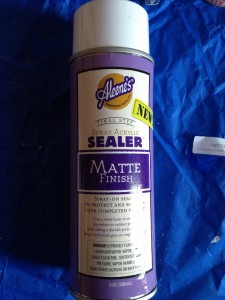
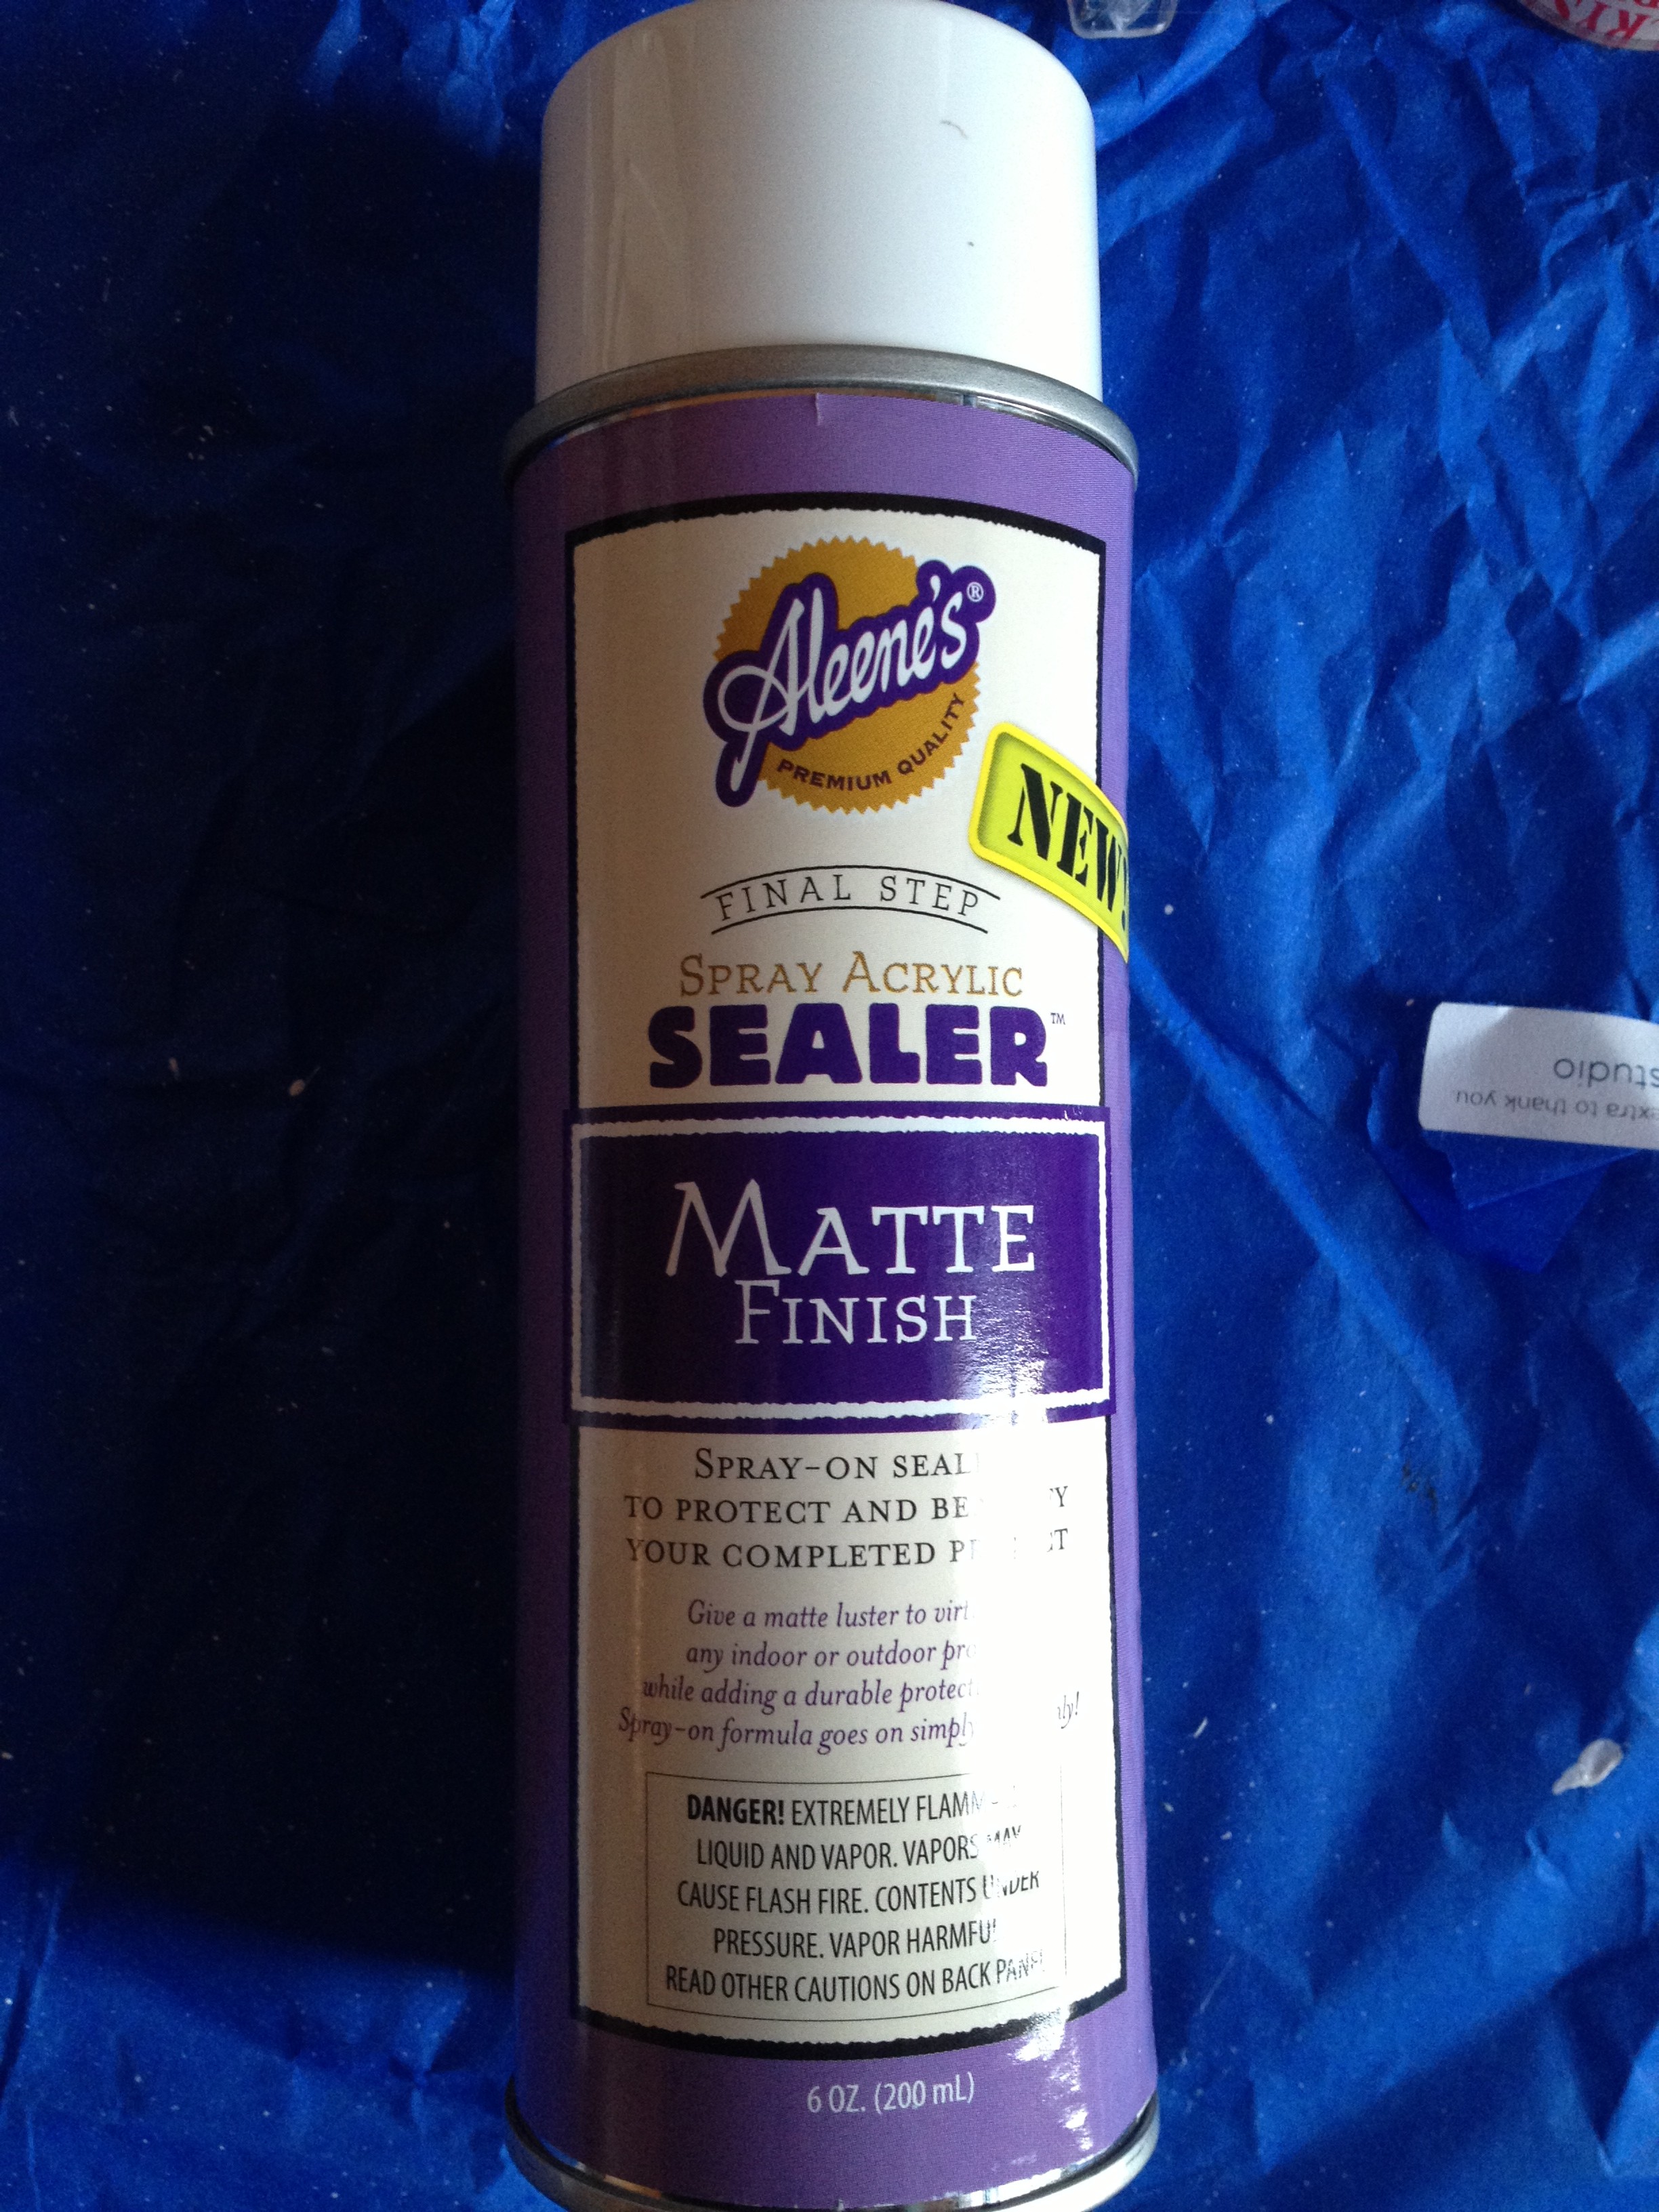
- An acrylic sealer to make your shoes waterproof once you’re done. They come in gloss or matte, and I went with matte.

Procedure:
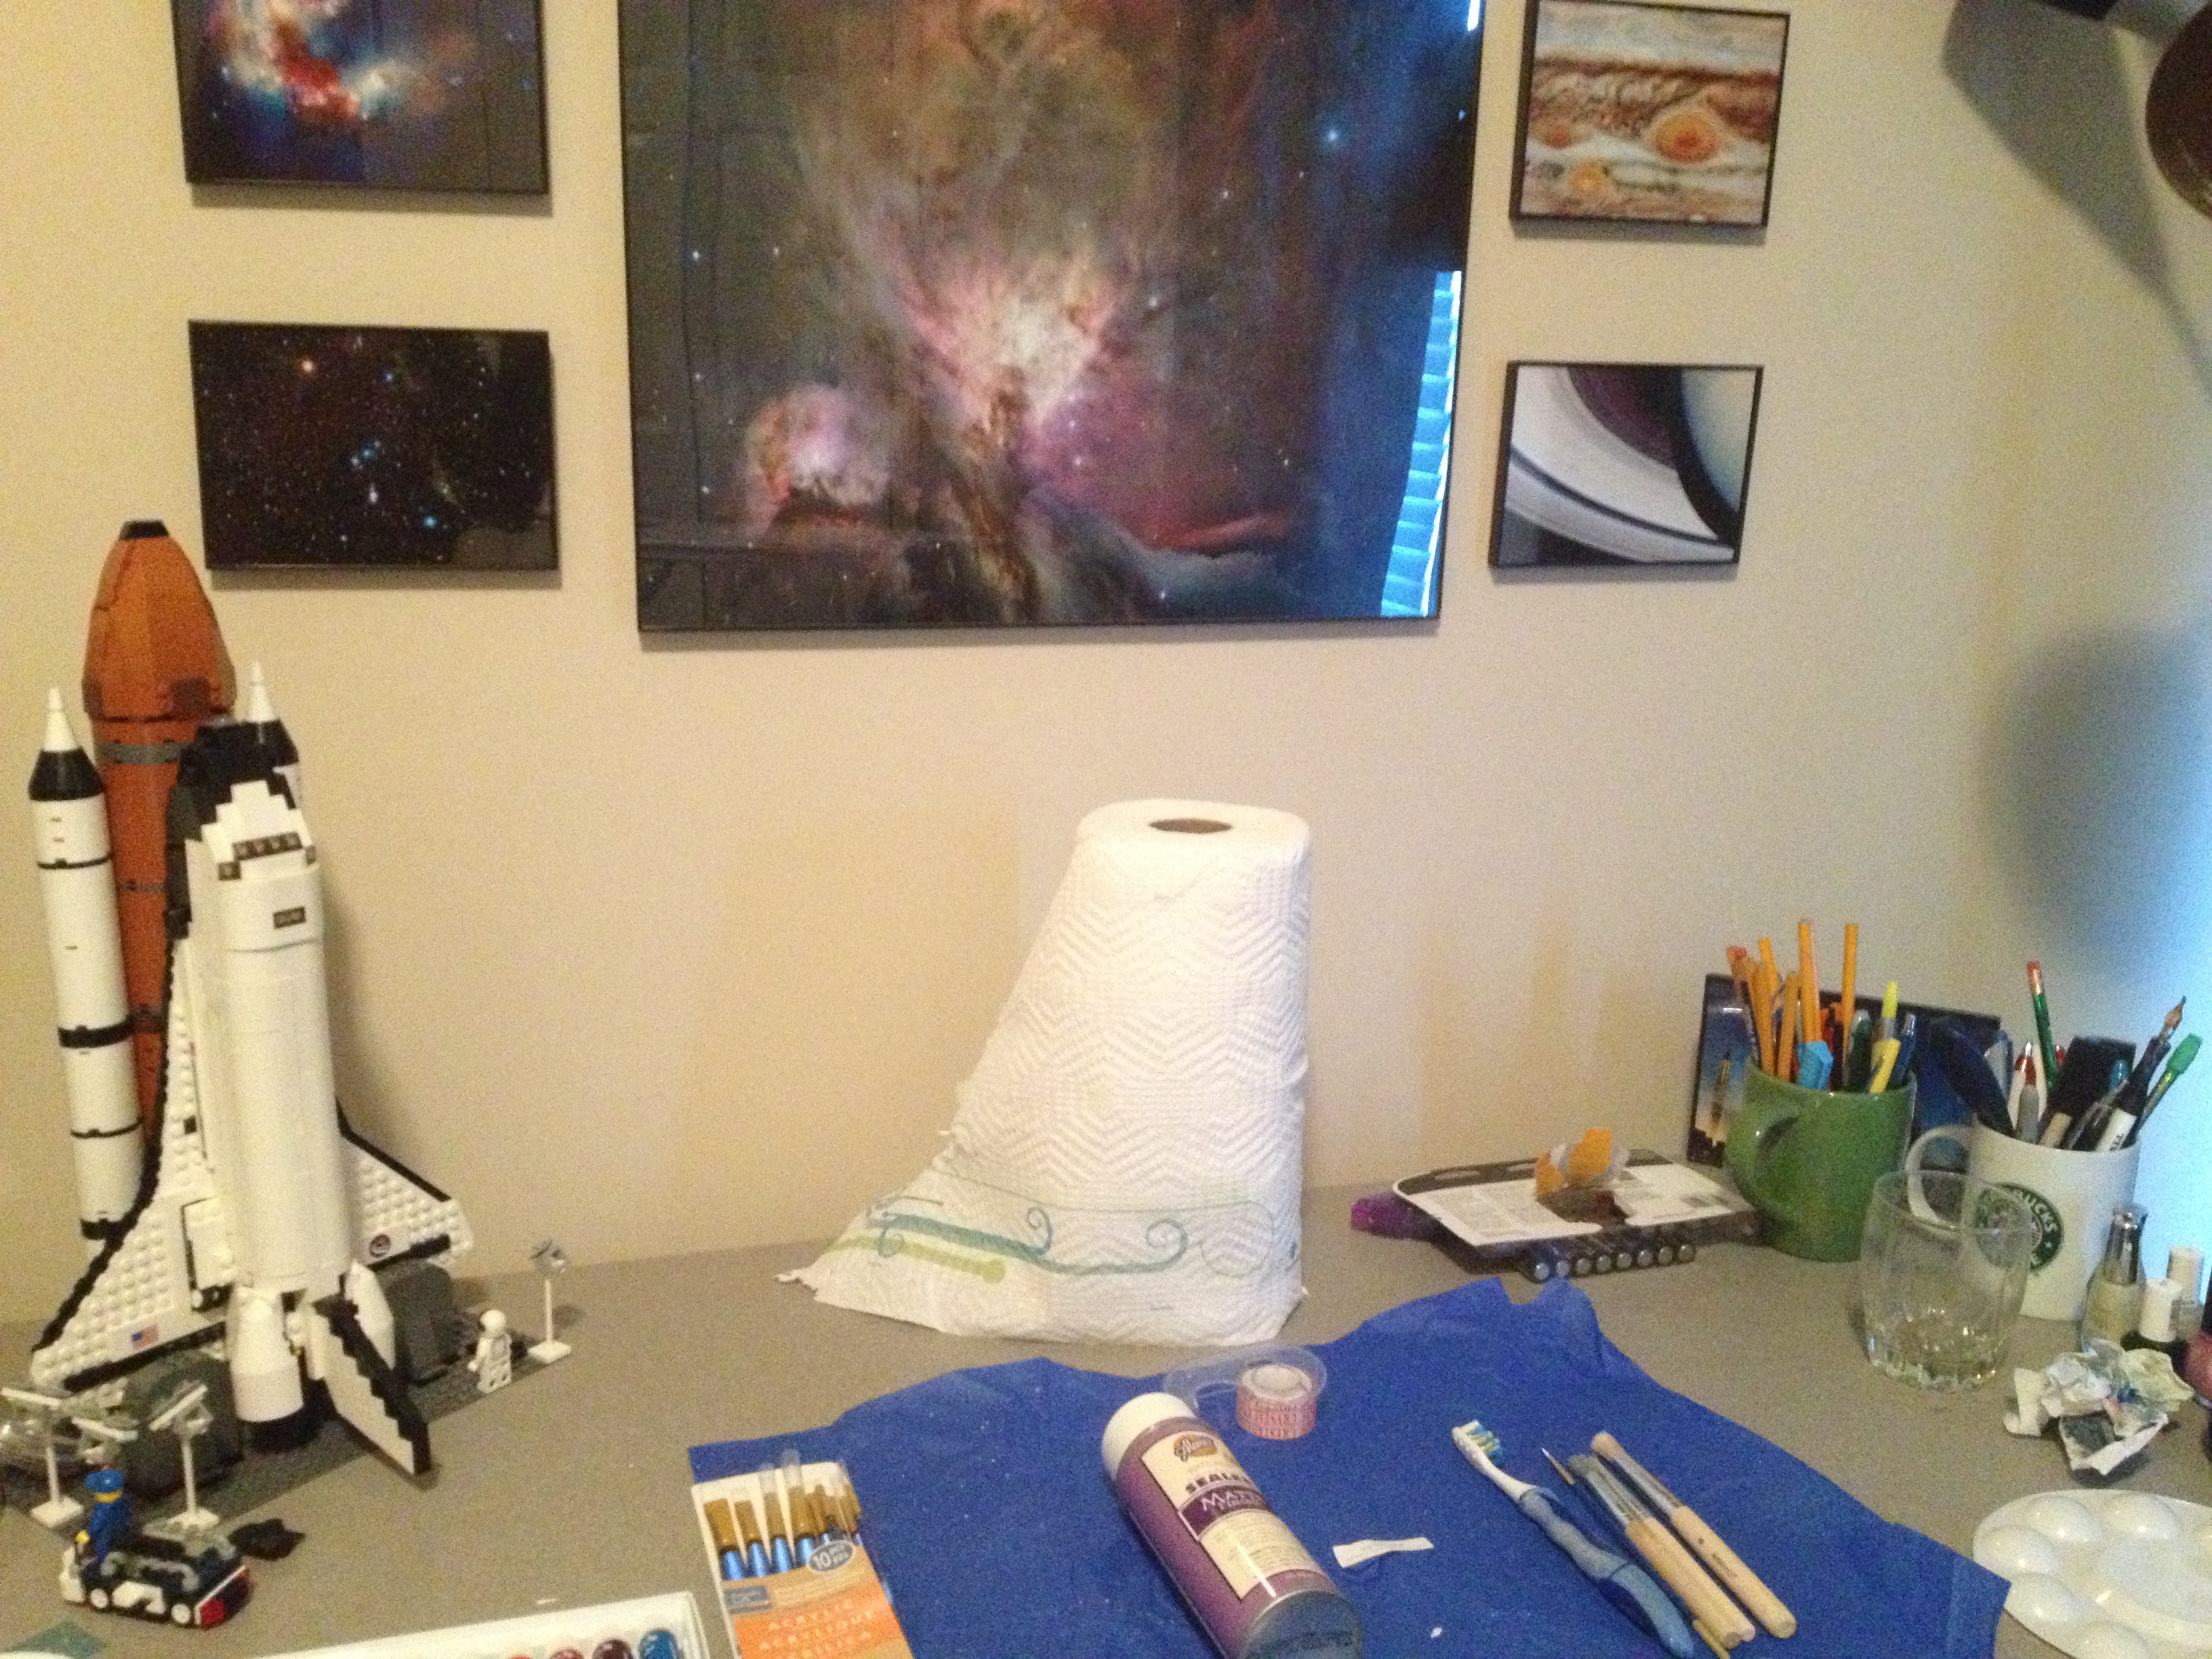
Step 1: Find Inspiration
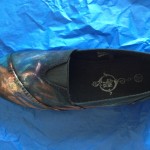
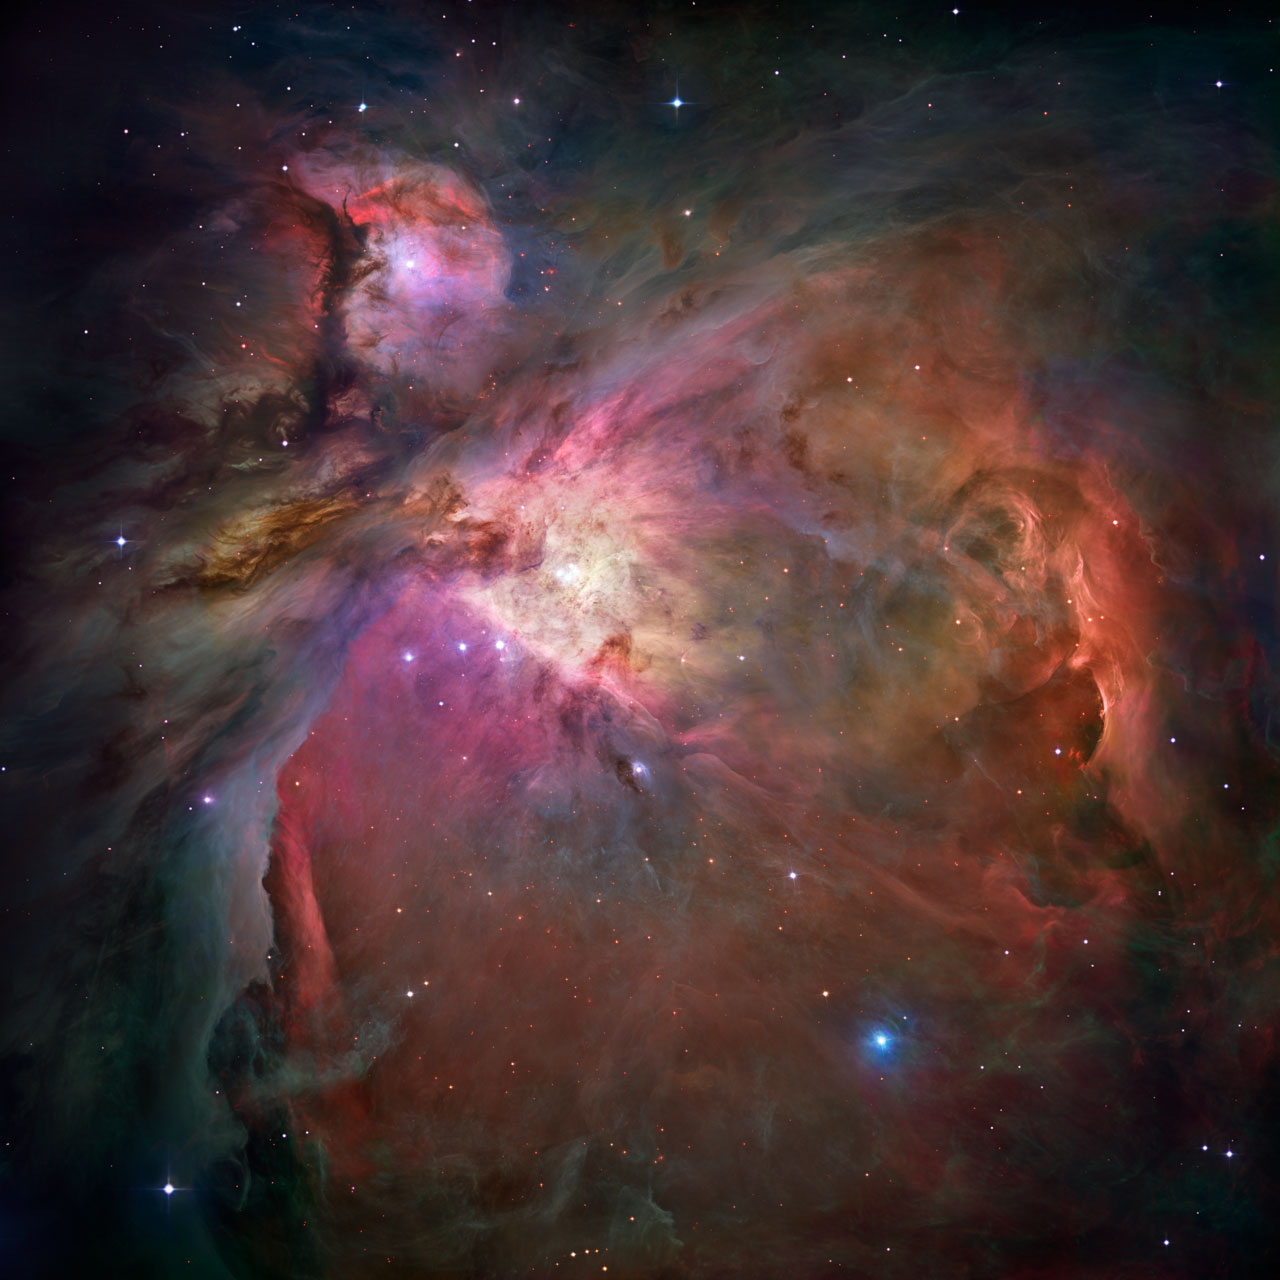 If you’re going to paint the universe (or at least galaxies and nebulae) on your shoes, you need to remind yourself what they look like from our awesome telescopes. (Sadly nebulae would not look like their photos since they show several wavelengths of light not just visible light.) My favorite place for inspiration is the gallery on HubbleSite. I decided to use an image of the Orion Nebula which happens to be background image on my blog and also hangs above my desk in my studio. It’s my favorite nebula located in my favorite constellation. I also have it on my phone case. I can’t help it – it’s just so beautiful!
Step 2: Prepare to Paint
Prepare your space. Make sure you cover your work area in case you spill paint.
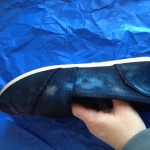
Next, you will need to prepare your shoes. You need to tape over the part of the sole that shoes next to the canvas in order to prevent getting paint on the soles. You can use any any type of tape you have available. I used cellophane tape, but masking tape, painter’s tape, packaging tape, etc. would also work.
Step 3: Paint your Base Layer
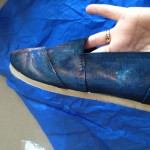
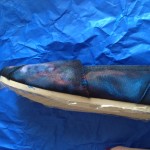
I decided to work with blues for my base layer. This was an easy decision because blue is my favorite color. I had two shades of blue in my paint pack and also used white and black. I used the white to brighten the colors (to indicate the intense star forming regions). I used black to tone things down or to show areas where the light was not shining as brightly through the dust. As you paint, do not feel the need to cover every square inch of black. Remember that you are trying to simulate the clouds of dust and gas in galaxies or nebulae, and the blackness of space would not be completely covered. The paint may soak in a bit, so you may need to touch up some of the areas with a couple more coats. Also, I found the paint dried relatively quickly.
As you paint, you can use dabbing strokes and swirling strokes depending on the effect you are trying to achieve. The clouds of dust and gas can swirl in long flows, around a central point, or in random patterns. Trust your judgement as you paint. Remember, it’s really hard to make a mistake.


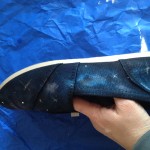
Step 4: Paint your Highlight Area
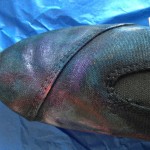
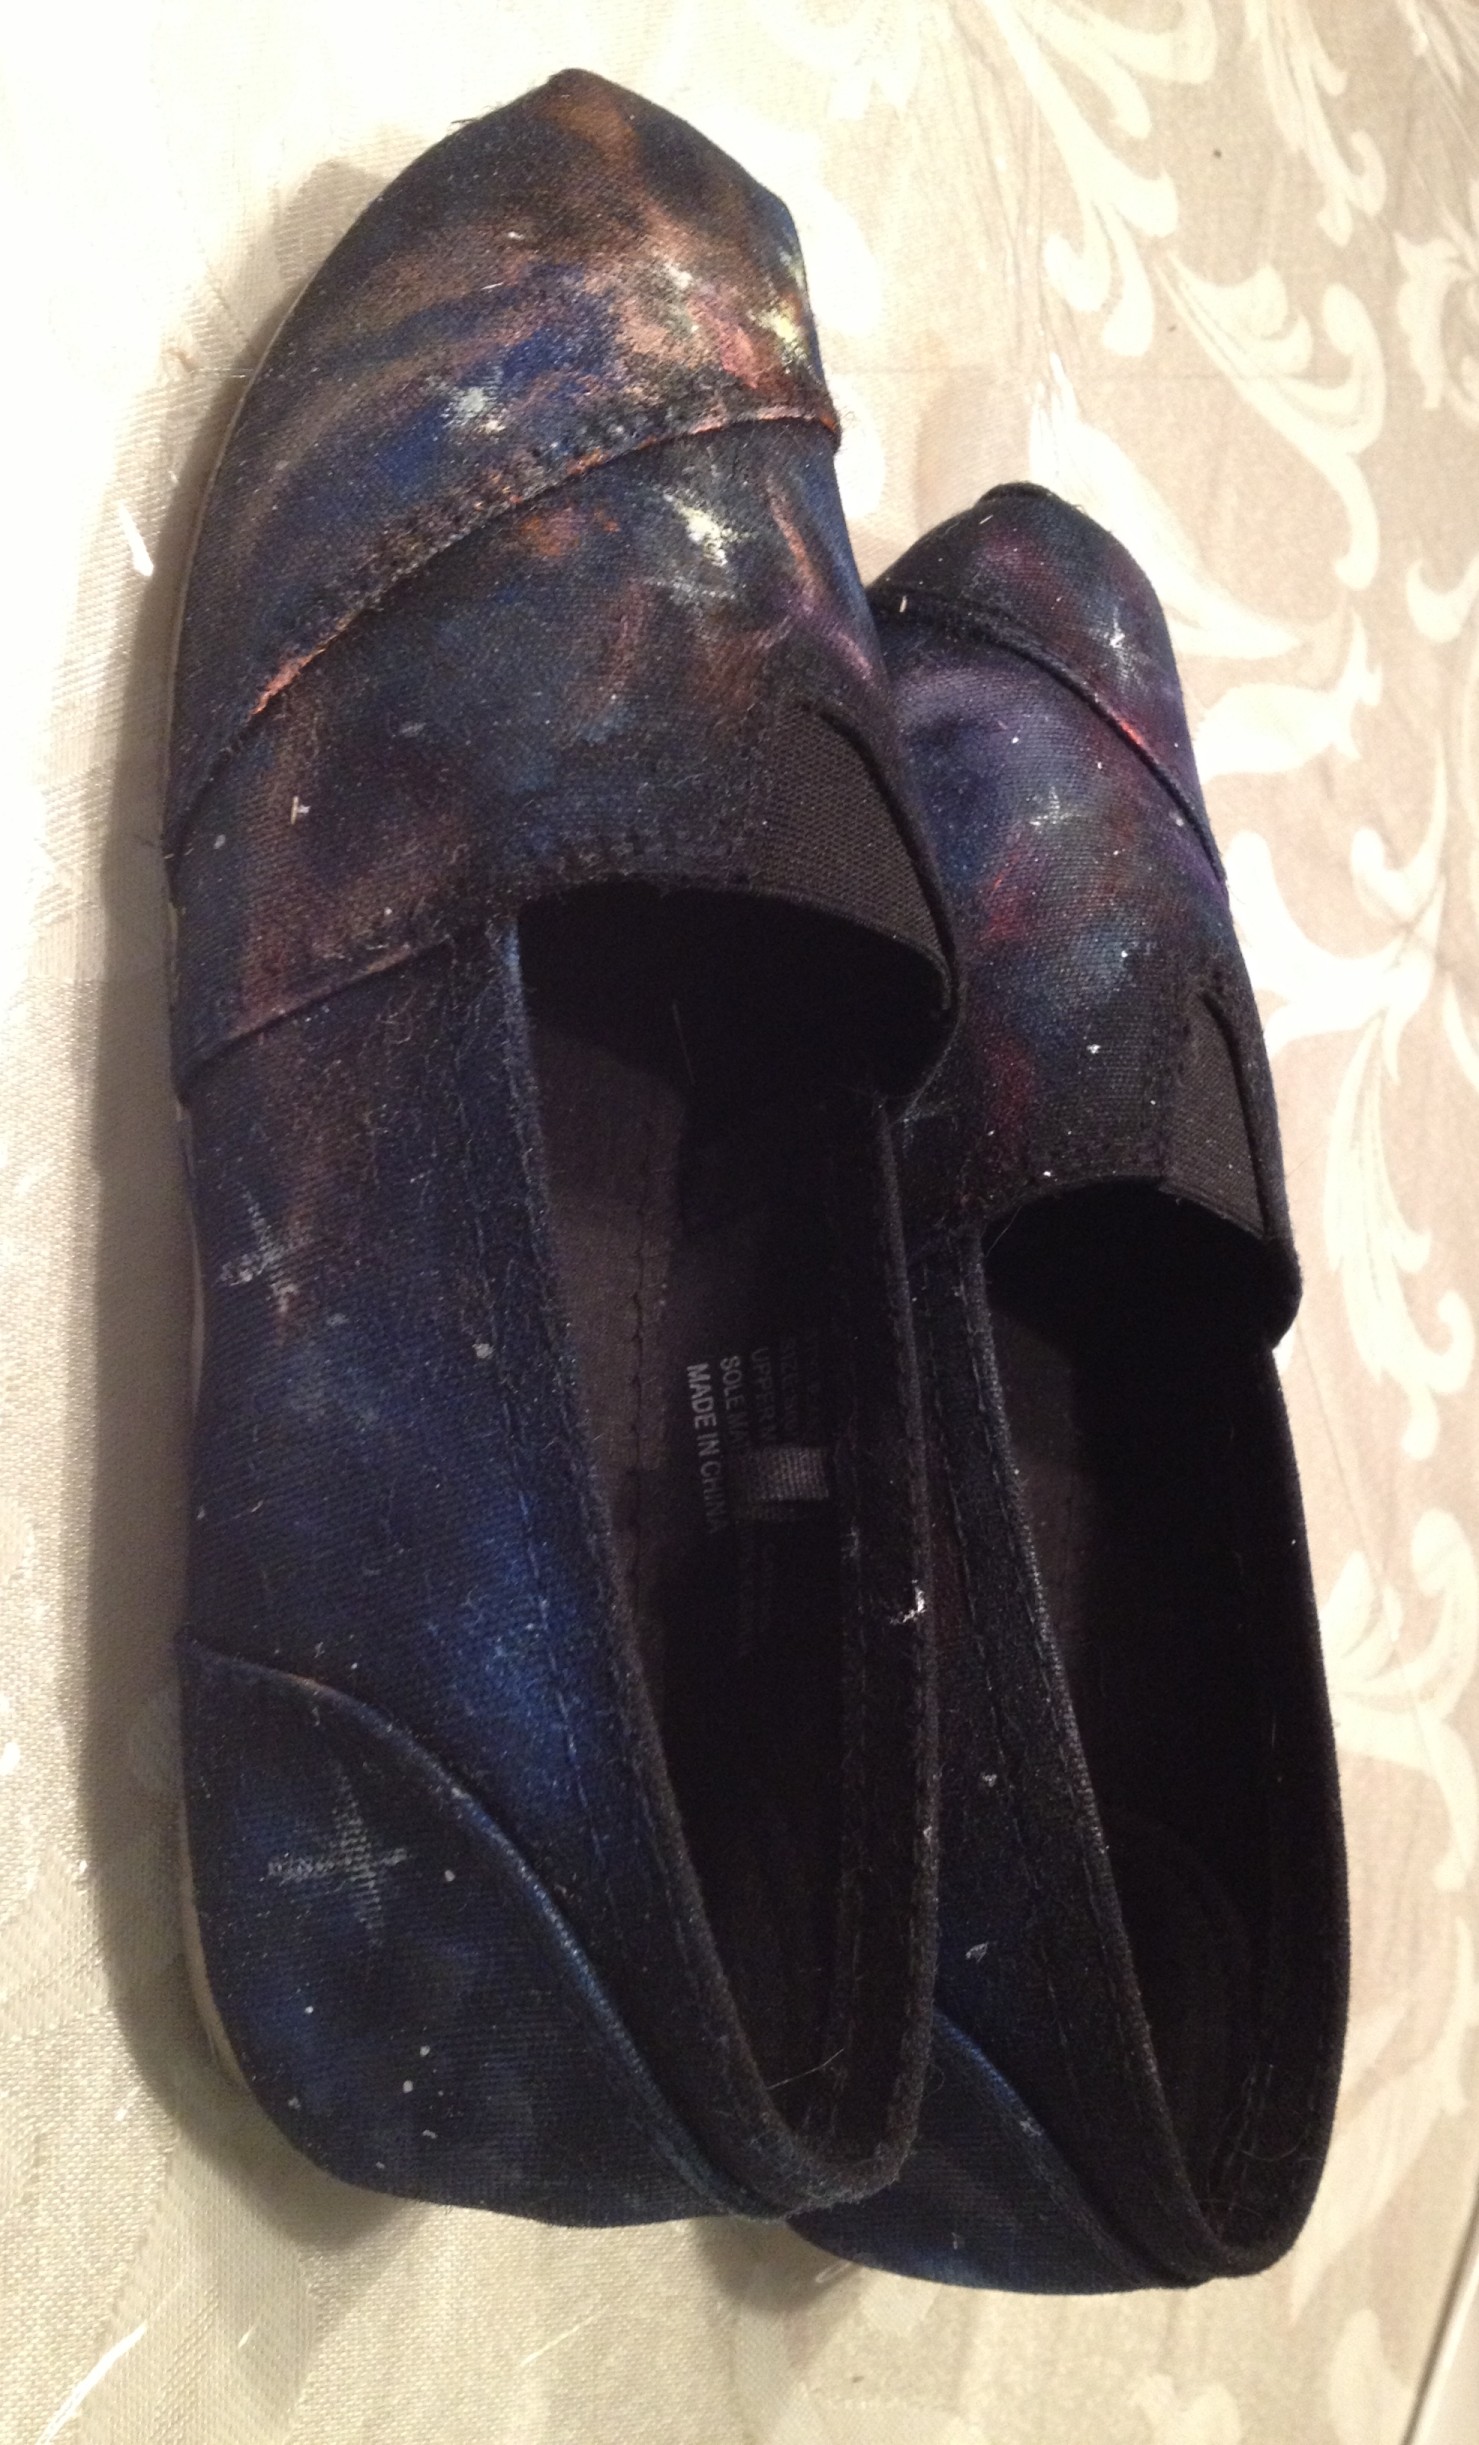
Now is the time to really consult your inspiration image. Choose the colors from your image to recreate the colors and shapes of the image. For the left shoe, I focused on the bright area in the Orion Nebula photo. For the right shoe, I focused more on some of the colored gases. Basically, I am allowing the left shoe to be the focal shoe. For my highlight area, I focused mainly on the toe area. You might choose to focus on other areas of the shoe. It’s entirely up to you.

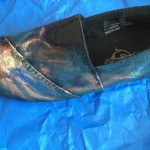
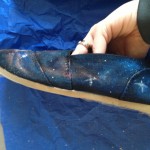
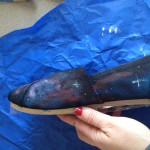
Step 5: Paint your Stars
It’s time to paint stars into the area of your shoe. First, you will want to put the random smaller stars onto your shoe. To do this, grab your old toothbrush and put some white paint on it. You will be applying the paint using a flicking motion of the toothbrush head. Before you apply to your shoes, practice on paper to make sure there is not too much paint. If you get a large splatter of paint on your shoe, you can easily blend it in using your other paint colors.
Next, add large individual stars using your small paintbrush. You can place medium and large size dots around your shoe. You can also do crosses around some of them from the lens flare you’ll see in many photographs. The larger stars are usually closer stars to Earth than the object being photographed. It’s like seeing the mesh of a window screen when you’re looking out the window.
Step 6: Apply Sealant
Follow the directions on your can of sealant in order to waterproof your shoes. You don’t want to worry about your shoes getting damaged in the rain (or the science lab). It’s probably best to apply two to three coats of the sealant so that you are sure not to miss a spot. Make sure you allow the sealant to dry well between coats. Also, you should spray the sealant outdoors in a well ventilated area. (And as a science teacher, I really should recommend you wear safety goggles.)
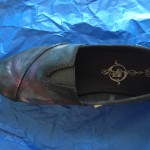
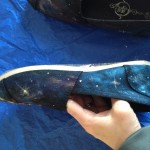
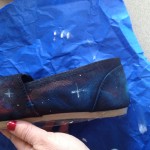
Step 7: Enjoy your New Shoes
Yay! You’ve finished your amazing new pair of galaxy/nebulae shoes. It’s time to wear them to school. If your students are anything like mine, you know they will love them. Although, watch out, they might ask you to teach a lesson on painting galaxy shoes.
Data Collection:
Please share your photos of your new galaxy shoes. I would love to see them. What techniques did you find worked best for you?
Conclusion:
I find that working through a tutorial is a lot like writing a lab, so I went back and changed some of the headings to look a bit like a lab report. (Yes, I am a super nerdy science teacher!) It makes me wonder how we could use something like this in our classrooms. Could you imagine how cool it would be to learn about galaxies and nebulae and then do this as the “lab”. As part of the data, students could explain the galaxy or nebula they chose to paint. What a cool way to do a lesson.
I hope you are inspired to paint your own pair of galaxy shoes – and maybe share the experience with your students.
Mrs. Wilson you are a science prodigy !!!!